Notice:
This post is older than 5 years – the content might be outdated.
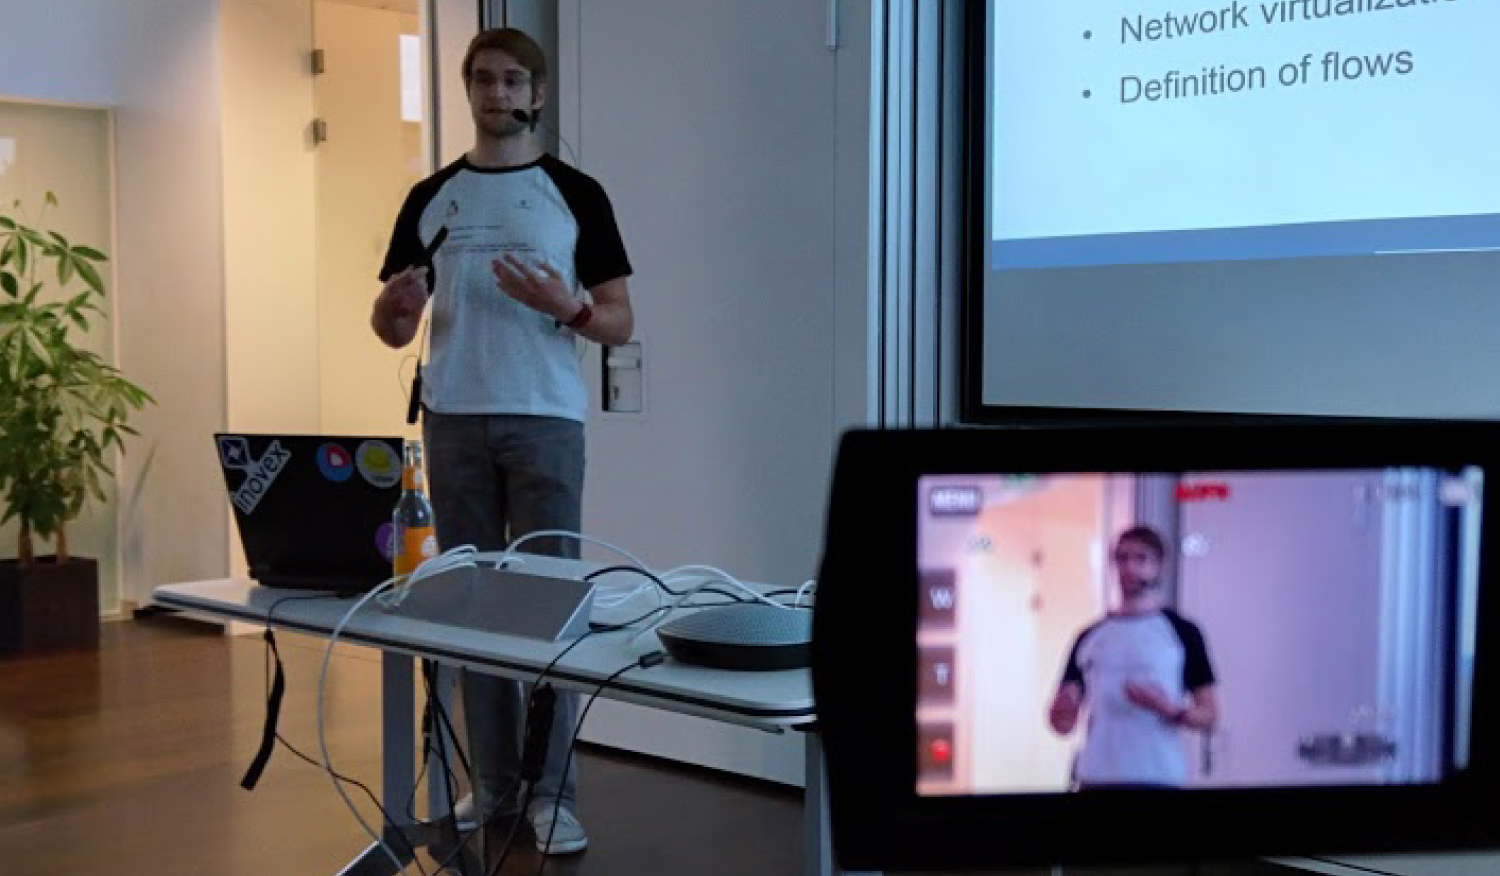
As a company we rely quite a bit on open source technology, i.e. the work and knowledge of a dedicated community. So we want to give back to the community on a regular basis, which we do in the form of code commits, articles on this blog and meetups. As our office only offers so much room, we developed a way to record (or live-stream) presentations as well, without interfering with the live presentation itself. Read on for a detailed explanation.
The task seems simple enough: We want to record the video stream of a presentation, the presenter’s audio stream and video stream showing the presenter. To complicate things a bit we didn’t only want to grab slides from MS Powerpoint and the like (which could be easily edited into a video after recording it), but also live coding and js-based presentations from a browser. In a last step we also challenged ourselves to make all this available on the internet via live stream.
What we had
Our starting situation wasn’t the worst: The office already had 2 projectors, 1 Screen and 2 wireless microphones wired to a Crestron system which provided us with a single place to grab audio and video output.
What we needed
However, we had no way to actually grab the signals without interfering with the presentation itself or installing software on the presenter’s computer. So we decided to get a video grabber—Magewell’s XI100DUSB-HDMI Video Capture Dongle has quite a reputation with VJs, so we got it on Amazon. The dongle doesn’t require any drivers and registers itself as a camera on Windows and Mac OS X. On Linux it appears as a V4L device.
We also got an HDMI Splitter, so we could grab the video on one laptop and loop it through to the projector at the same time.
To record the audio from our wireless microphones we bought a USB Audio Interface and plugged it into the output of our wireless receiver. There are several output ports, one of which is wired to our speaker system, so we don’t have to worry about getting an audio splitter, too.
Simple video recording
Now that we got everything we need, let’s start recording. With the presenter’s computer plugged in, connect the USB Audio interface and the HDMI grabber to your recording computer. In your favorite video recording software select the grabber as the camera and the interface as your microphone—we used Quicktime on a MacBook and it worked like a charm. If the wireless microphone is tuned correctly you shouldn’t have to change anything, but in case it isn’t you might want to test the interface’s settings before starting the actual recording.
The video of the presenter is recorded separately on a regular video camera and later edited into the video, e.g. as picture-in-picture. For ways to integrate a video feed right into the recording refer to the next chapter.
Advanced video recording and live streaming
So you want to minimize the time needed for post production or you even want to stream your presentation live over the internet? We got you covered:
Instead of recording the presenter on a separate camera, use a high quality webcam and connect it to your recording computer. To compose both video feeds and the audio feed into one stream, we recommend CamTwist. CamTwist is a free software available for Mac OS X that lets you manage and compose several input signals to create a single output signal, registered as a virtual camera device. It not only accepts video and audio signals but also lets you add digital on-screen graphics (DOG/bug) and offers various effects to dissolve and fade signals.
So instead of your HDMI grabber select CamTwists virtual camera as video device and the USB sound card as audio device in your recording software and click record, then manage the video composition in CamTwists studio screen.
If you instead want to live stream your presentation head over to your favorite streaming software and select CamTwist as video and the USB sound card as audio input there. We usually rely on Google Hangouts on Air, which also offers a recording of your live stream after the broadcast has ended.
If you prefer to record it yourself just use your streaming and recording software on the same sources in parallel.
If you prefer an operating system other than Mac OS X you might want to have a look at the Open Broadcaster Software project. It looks like a promising cross-platform solution, but we have yet to evaluate how it fits our need.
Sample Recording
Get in touch
Want to know what our talks are about? Check out our website and have a look at our services. Did we miss anything or do you have an idea how to improve this tutorial? Let us know in the comments below. If you liked it, feel free to share our tutorial!


